http://www.team.net/www/rootes/chassis.html this is a link to the serial numbers of Rootes/Chrysler engines

|
f2t88p496n2.pdf Size : 1856.633 Kb Type : pdf |
Just bought a Holbay Engine block on ebay, +.060" rebored giving 1789cc instead of 1725cc. Plan on refurbing then mating with my big valve Holbay head & adding the oil seal mod as well.
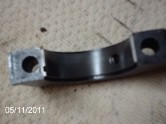
Will need to source a few things as well, water pump, engine front plate etc.
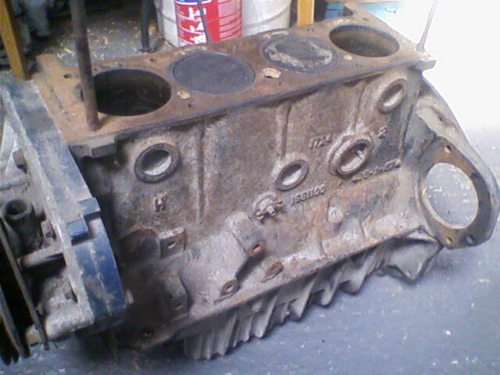
Measured all the piston heights from the block and they only varied by 0.003" over all 4. Pretty good.
the block was cleaned in white spirits, then the tappets examined. They were all cleaned & found to have a mirror finish, all good again.
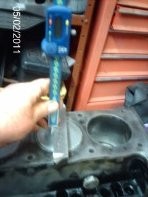
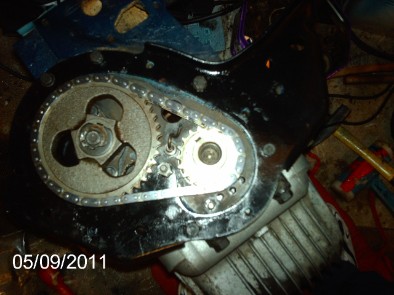
Stripped it back to the timing sprockets, it had been set 1 tooth out on the previouse build. Wonder if that was why they took the engine out?
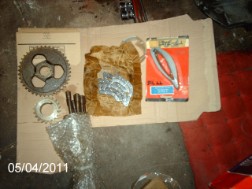
Heres some of the bits I'll be fitting on rebuild, sprockets & timing chain & pushrods, I've shown one polished. Not sure about the tensioner it feels a bit soft to me.
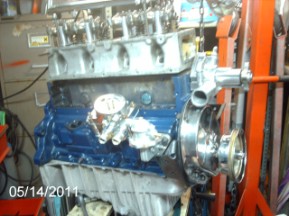
Thought I'd give it a coat of paint while I'm waiting for bits & to make it easier to handle when it goes on the bench to check the bearings. Its ford Isis blue ,as near as is to hillman engine blue.
Couldn't resist trying some of my new bits on!

After a good clean tried the 1st gasket on seems ok.
Next to fit was the front plate, after a good clean, derust, then paint, fitted with blue hylomar as an added protection. On went the pulleys, setting 1&4 pistons to TDC with the keyway upwards & the two timing marks facing each other. The cam pulley was only nipped for now, but the retaining washer is in place. Thats all in this area for now.
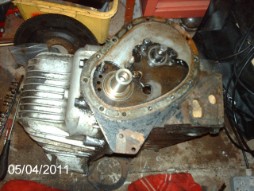
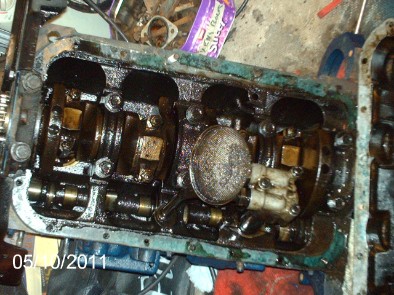
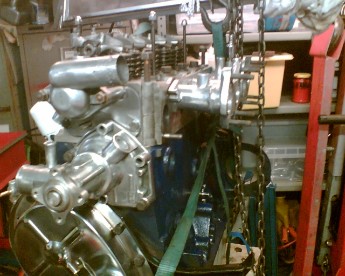
Moving on to the bottom end - it's a bit gunged up! I'll give it a good clean before I do any more stripping.
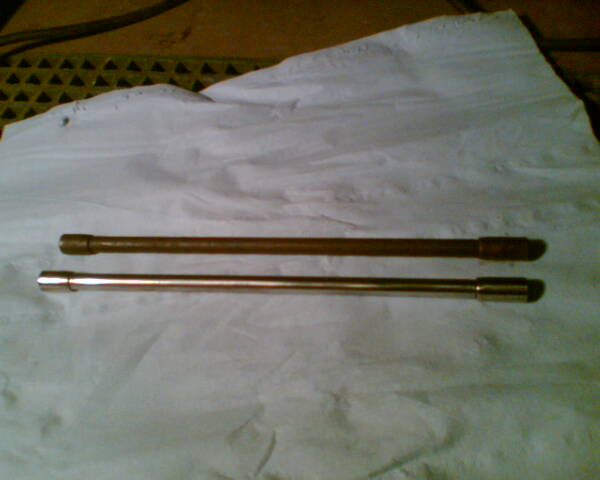
While polishing the push rods one had the cup end missing. So using silver steel I center drilled one end, ground a drill to the correct radius, then formed the cup. The other end was drilled to 16mm deep & 9.1mm dia. Then heated & pressed on to depth. It needs to be hardened but I'm going to wait till its beded in a bit before doing it as the drilled finish isn't good enough.
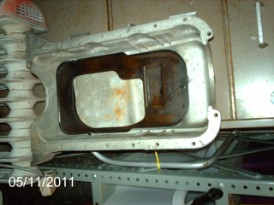
While the sump was off removed the baffle plate and fitted it to the new sump I bought last year
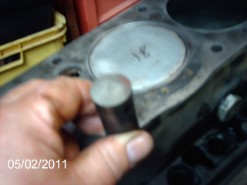
Removed the crank end caps & the bearings are like new.
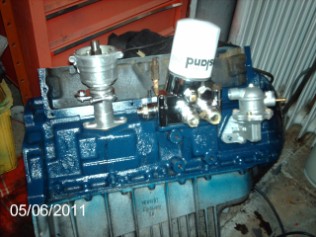
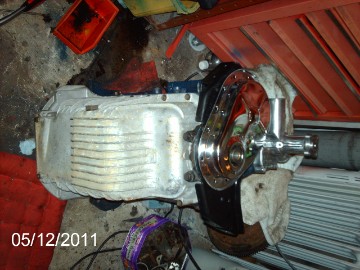
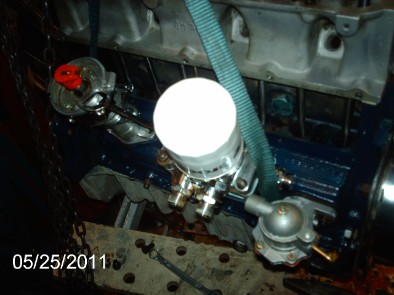
Fitted new sump, new gasket with blue hermatite, Polished water pump, collected Timing cover from platers, tried it on looks good!
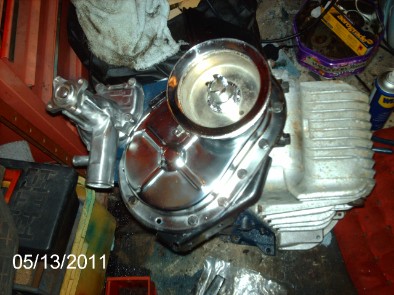
So heres the timing cover fitted with the oil seal mod + chromed crank pulley + nut. Starting to look the biz,
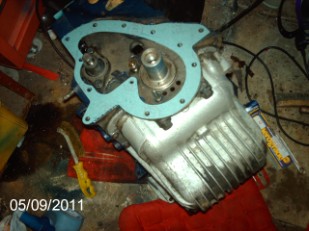
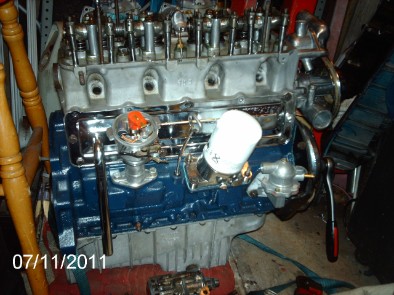
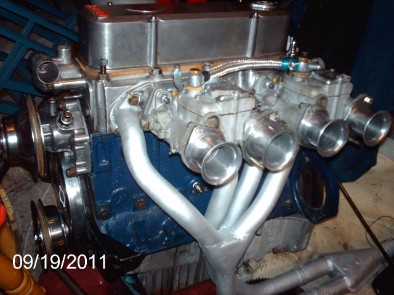
So, heres some pics with the head on. Pushrods in & rockers on
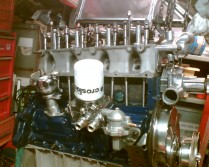
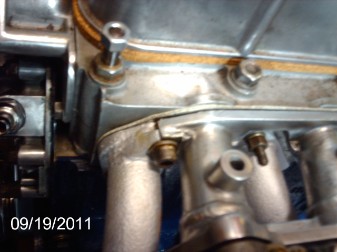
Just a view front on with the inlet manifold on. Head bolts a bit long so adjustment needed there, but all coming together nicely.

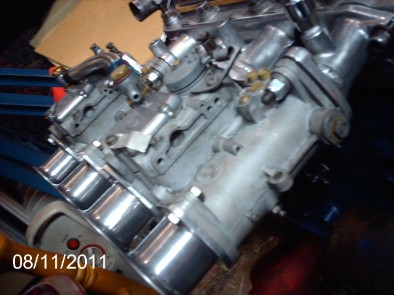
So, the head bolts have been shortened by 4mm & don't bottom out any more. I've fitted the inlet manifold with cap head allen screws for ease of removal. Also bolted the carbs on but need to set them yet.
Chrome dipstick, Red rotor arm - bits comming in slowly. Chrome fan tried on.

So, now I've got the sideplate back from chroming I,ve managed to get some oil in & turned it over with a ratchet . Seems free eneough, hell of a draught from the spark plug holes! Cant put the oil cooler sandwich plate on for the sake of loosing oil.
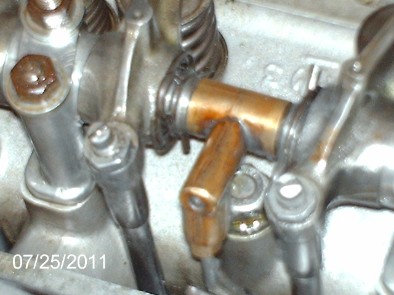
This has been the hardest bit to find so far! Now I have the tee in place I can run oil round all the engine.
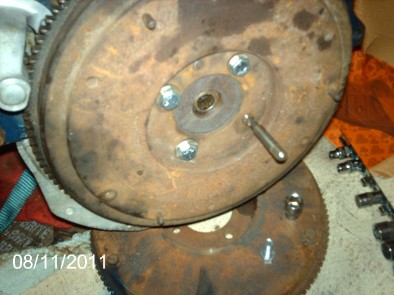
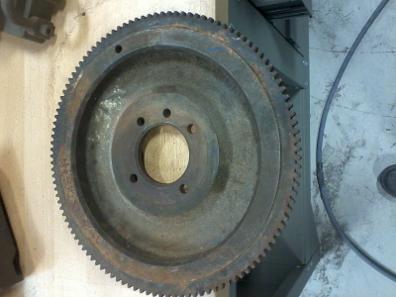
After a bit of a delay I temp fit the old flywheel, had to buy a 3/8 unf tap to clear the threads. New bolts came from spalding fasteners http://stores.ebay.co.uk/spalding-nut-and-bolt?_trksid=p4340.l2563 48hr delivery. The Holbay flywheel is the one under the engine, will be lightened at some point. Bolted an old starter motor on & jump leads to it, turned ok with oil in the right places + no funny noises - BONUS!!
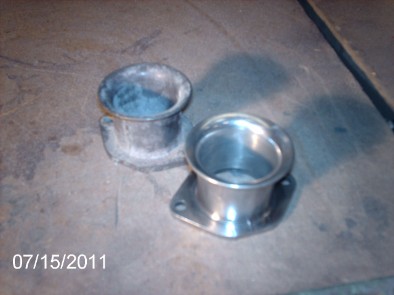
One thing missing was the ram pipes, these carbs take the flanged bolt on type.
Managed to buy these on ebay, £25 - new ones go for 70+ a pair! you can see the 1st one is in a state, but a few minutes on a scotchbrite wheel then a polish & were looking good.
Just bought this 4 branch manifold £120 . Will be blasting & painting it + possible Heat wrap.
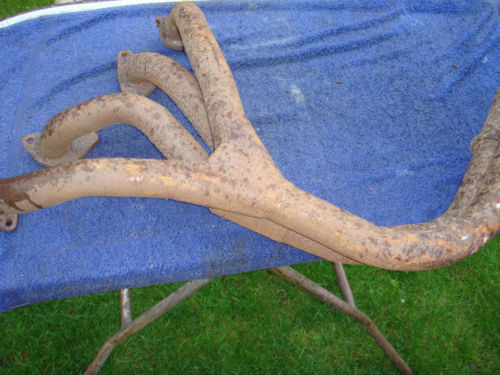
Well on fitting it appears that the ex flange is thicker than the inlet manifold flange, so the bolt area needs grinding down.
So after a good blasting, acouple of small holes were welded up. Then some alluminium spray paint - very high temperature was used also used on jet engines a trial fit seemed good.
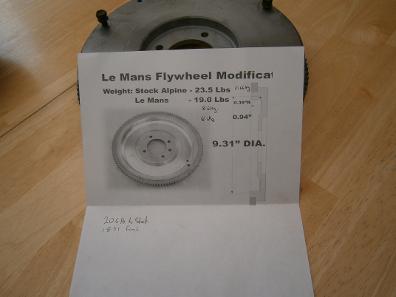
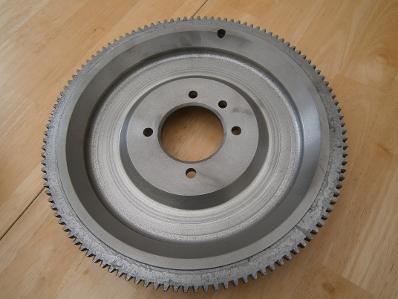
So here we see the standard Holbay flywheel, the same one after machining & the photo it was done from. Not having all this weight to speed up and slow down gives a much better throttle response. 2.1 lb has been machined off.